
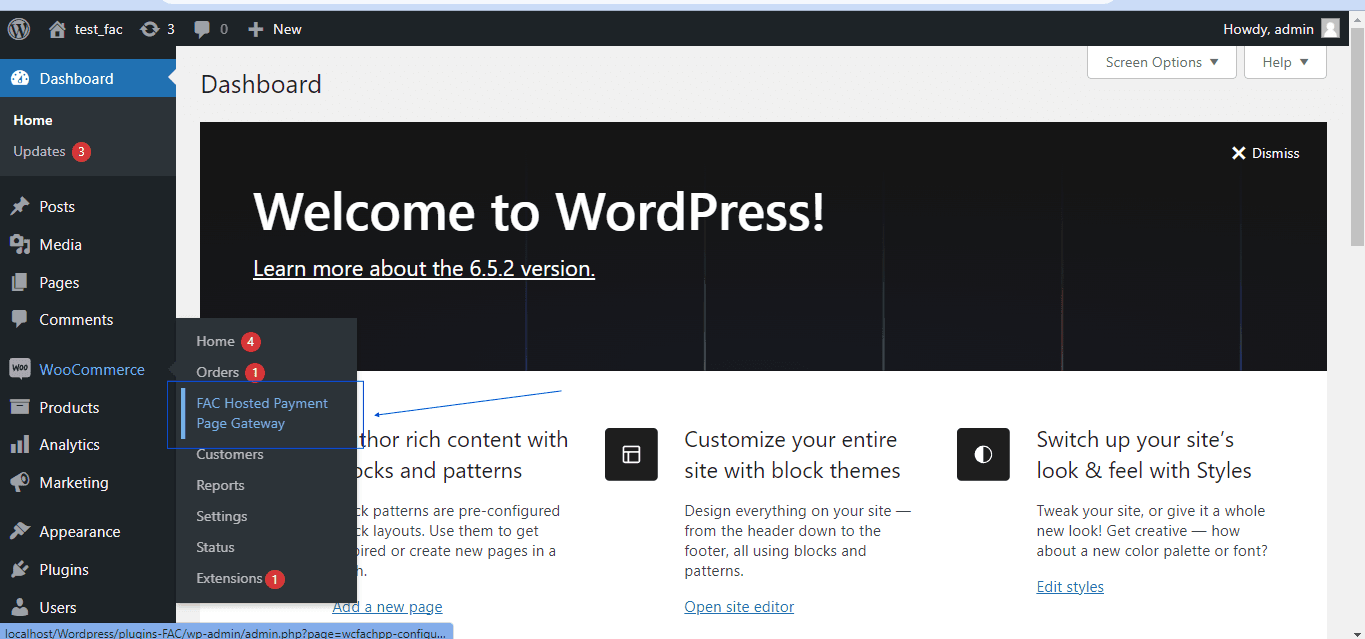
Access settings #
Navigate to your admin dashboard to the Woocommerce >> FAC Hosted Payment Page Gateway.

Understand the settings #
When configuring the payment gateway settings for First Atlantic Commerce (FAC) on your WooCommerce website, it’s essential to understand each field to tailor the setup according to your preferences. Below is a breakdown of the settings: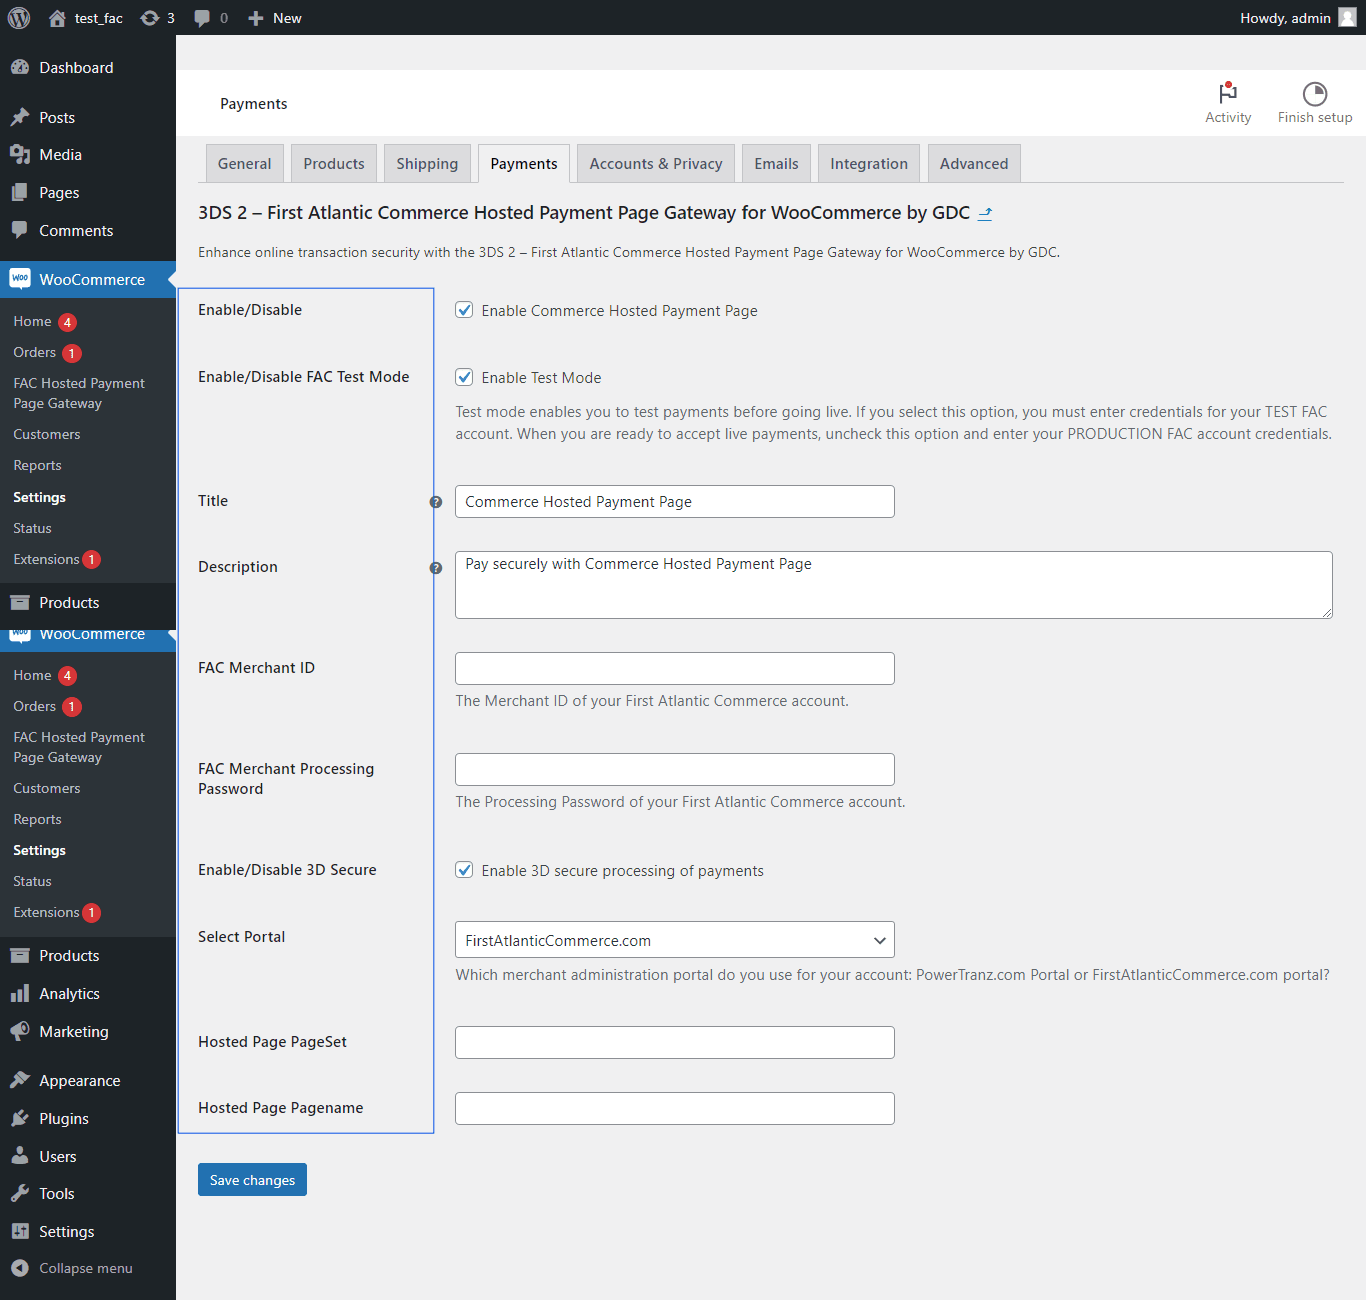
Enable/Disable:
This checkbox allows you to toggle the availability of the FAC payment gateway during the checkout process on your website.
Enable/Disable FAC Test Mode:
Choose whether to use FAC’s Testing Server or Production Server for transactions.
Testing mode is for trial transactions with specific testing credentials, while production mode is for real transactions with live credentials.
Title:
Set the title displayed to customers during checkout for this payment method (defaults to “Commerce Hosted Payment Page”).
Description:
Describe the payment method shown to customers during checkout (defaults to “Pay securely with Commerce Hosted Payment Page”).
FAC Merchant ID and FAC Merchant Processing Password:
Enter your FAC ID and corresponding processing password for identification and authentication.
Enable/Disable 3D Secure:
Activate 3D Secure technology during payment processing if supported by your bank and merchant account.
Select Portal:
Select the merchant management portal you use for your account.
Hosted Page PageSet and Hosted Page Pagename:
These fields are important as you will need to provide the hosted payment page through which you want payments to be processed. This was done in the previous article on “How to create my hosted payment page on my merchant management portal“


